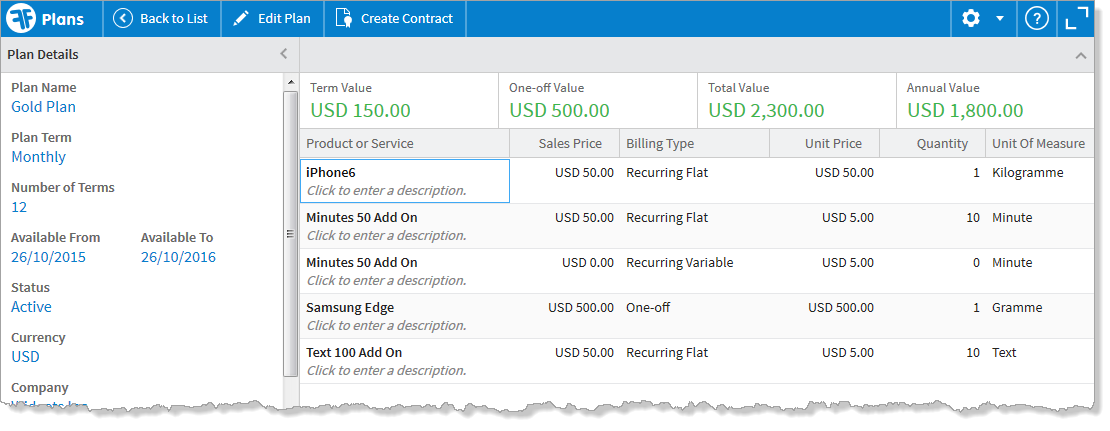
On the enhanced Plan Detail page a Plan Details pane, Product pane and a collapsible Totals banner is shown within the Product pane when you view the details of a plan. On the Plan Details pane you can view and edit the details of the plan. On the product pane you can view, add, edit and delete the products. When you make changes to the plan, the totals update to reflect the changes.
Click the image to expand it.
You can create a contract from an active plan from this page.
If you want to expand or collapse the Plan Detail pane, click  or
or  depending on whether you want to expand or collapse the pane.
If your products belong to active Salesforce Price Books, you can apply a price book to plan line items when you create them. For information about price books, see the "Prices and Price Books" topics in the Salesforce Help.
To switch to the Salesforce version of a detail page:
 .
.If you've made changes to the layout of the page and want to restore the default layout:
.You can change the layout of the plan lines on the Plan Detail page in these ways:
When viewing or editing a plan, you can filter the list of products on the plan by entering the first few characters of the product in the Filter by Name box. To remove the filter, clear the checkbox.
You can also filter the lines by a particular value in a column:
 icon.
icon.To remove a filter, repeat the first two steps and then clear the checkboxes.
To remove all filters, click Clear Filters.
The typeface of column headings that you've applied filters to changes to bold italic to indicate that a filter is applied to that column.
To move a column:
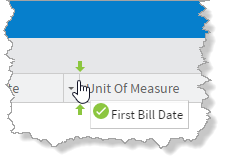
To the sort the plans by column, do one of the following:
 indicates that the plans are sorted in ascending order. The down arrow
  indicates that the plans are sorted in descending order. icon then select
  Sort Ascending or
  Sort Descending depending on whether you want to sort the plans in ascending or descending order.
To show or hide columns:
icon. View Tutorial