When you run revenue recognition, the revenue recognition transactions that are created provide data about what has been recognized up to the recognition date. Revenue schedules provide forward-looking data, letting you see how much revenue will be recognized in future periods. You can use the data provided by revenue schedules to build reports giving you a forward-looking view of your company's revenue position.
In this Beta version you must generate revenue schedules for your source records manually. A revenue schedule will show the amount that is going to be recognized for the source record for the time period it covers. For example, if you create a performance obligation for the value of 12000 and its revenue is recognized over 12 months using an Equal Split (Months) template, its revenue schedule will be generated with 12 revenue schedule lines: one line per period for the value of 1000.
This means that there is no need to generate data and submit revenue recognition transactions to see your company's revenue position.
Setup Required for Revenue Schedules
For details of how to update your Revenue Management setup for revenue schedule creation, see Enable Revenue Schedules (Beta).
Generating Revenue Schedules
Once all the necessary setup has been completed, you can generate revenue schedules via a custom Lightning component. The following steps assume that you are accessing the component from the Revenue Management Home Page, but it is also available from the Revenue Management Workspace.
- Go to the Revenue Management Home Page. You will see a box like this:
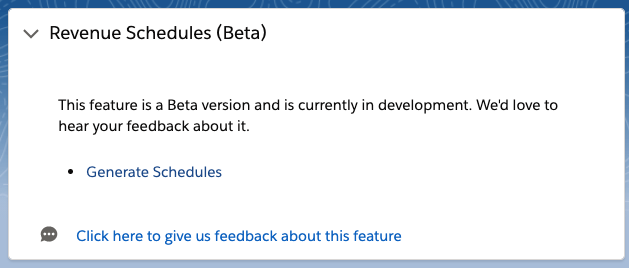
- Click Generate Schedules. A page is displayed for you to choose your source records.
- If Billing Central is installed, a drop-down is available where you can choose Revenue Contract or Billing Contract as your source object. If Billing Central is not installed, your source object must be Revenue Contract.
- Enter a search string to find the source records you want to generate schedules for. The string you enter is matched against source record name, description, and account name fields. If you want to see only source records that don't already have revenue schedules, click Show Records Without Schedules.
- Select the source records that you want to generate schedules for.
- Click Generate. Volume handling is limited in this Beta version, therefore if a timeout error is reported please select fewer source records and try again.
A revenue schedule will be generated for each valid source record:
- If your source object is Revenue Contract, revenue schedules are created for the valid performance obligations on a revenue contract.
- If your source object is Billing Contract, revenue schedules are created for the valid line items on a billing contract.
Separate revenue schedule lines are generated for each period that the source record is to be recognized over. If a revenue schedule already exists for a source record, it is updated to reflect any changes to the source record.
Viewing Revenue Schedules
You can view the revenue schedules in your org using the Revenue Schedules tab. Use the App Launcher to find this tab.
Alternatively, you can view revenue schedules as a related list on the source record.
You can use Business Analytics to build custom reports on the revenue schedule data.
Setup Required to Generate Revenue Schedules from the Billing Contract Detail Page
If you are using Billing Central with Revenue Management, you can generate revenue schedules from a billing contract's detail page.
To do this you must manually add an action to the Billing Contract custom object:
- Navigate to Setup | Object Manager, then click on Billing Contract in the list of objects.
- In the Buttons, Links, and Actions section, click New Action.
- From the Action Type drop-down, select Lightning Component.
- From the Lightning Component drop-down, select "ffrr:GenerateRevenueScheduleFromBillingContractQuickAction".
- Leave the Height field set to the default 250px.
- In the Label field, enter "Generate Revenue Schedules". Users will see this label as the name of the action.
- In the Name field, enter "Generate_Revenue_Schedules".
- [Optional] Enter a description for the action.
- Click Save.
Now add the new action to the relevant billing contract page layouts by dragging it from the Mobile & Lightning Actions section of the palette and drop it in the Salesforce Mobile and Lightning Experience Actions section of the page layout.